DevOps Deployment Workbench offers customized XAML workflow
templates that are designed to encapsulate many smaller individual deployment
steps into a singular consistent workflow. Using the DevOps workbench you can
create deployment Activities that offer many smaller coded XAML activities that
perform distinct build or deployment tasks, such as updating of a value in an
XML configuration document. All these activities can be later executed from the
workbench UI to perform a deployment activity.
In this article we'll use the workbench UI to create a
deployment orchestration and use this to perform a deployment activity.
- From the DevOps workbench UI, create a new Deployment Orchestration as given below.
- This creates a master deploy sequence which you can customize and extend by adding custom activities that describes your deployment process
- From the properties box, change the master deploy sequence display name to your project deployment sequence name.
- The deployment toolbox contains common deployment activities which you can use in your deployment sequence by dropping them to your activity
- To start with the sample deployment scenario, we'll add a pre check for a valid operating system before copying the assemblies to the server.
- From the toolbox, drag and drop the CheckOSName activity to the deployment sequence
- From the toolbox drag and drop the .Net application deployment activity to the sequence and provide details for source and target as given below
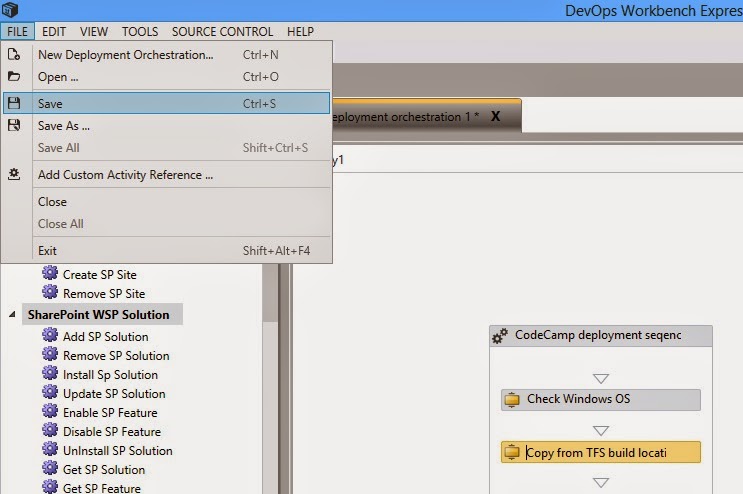
- Save your orchestration to the disk
- We'll now use this initial deployment sequence to deploy to a test server from the workbench UI.
- For adding a new target server connection, choose Target Servers option from the menu
- Click on Refresh to see the target servers for deployment
- Once you have configured the target servers, you can deploy the application from the workbench UI by clicking on Deploy to servers from the menu
- Choose your build, package name and target server details to deploy the application from the workbench
- Click on start to start the deployment process


No comments:
Post a Comment